intropic

Meyas

Hi, I'm Fabi. I write knitting patterns among other things

Gauge swatching

Small differences add up

No one likes to knit gauge swatches. Let’s face it, you are essentially knitting a square that in the future will serve no purpose. Unfortunately sometimes you just need to knit a stupid square. Hopefully this post will illustrate what might happen if you skip it.

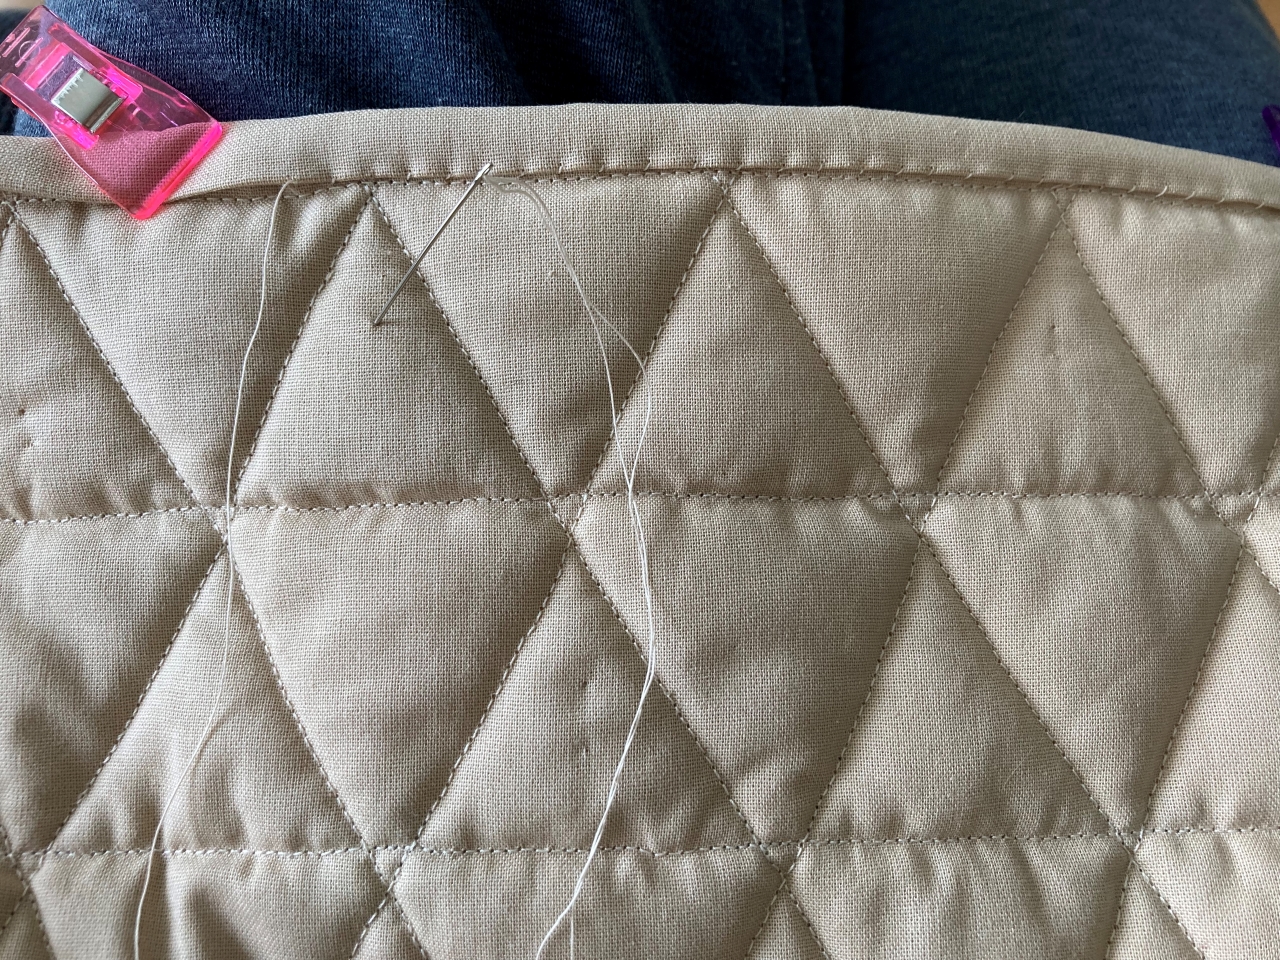
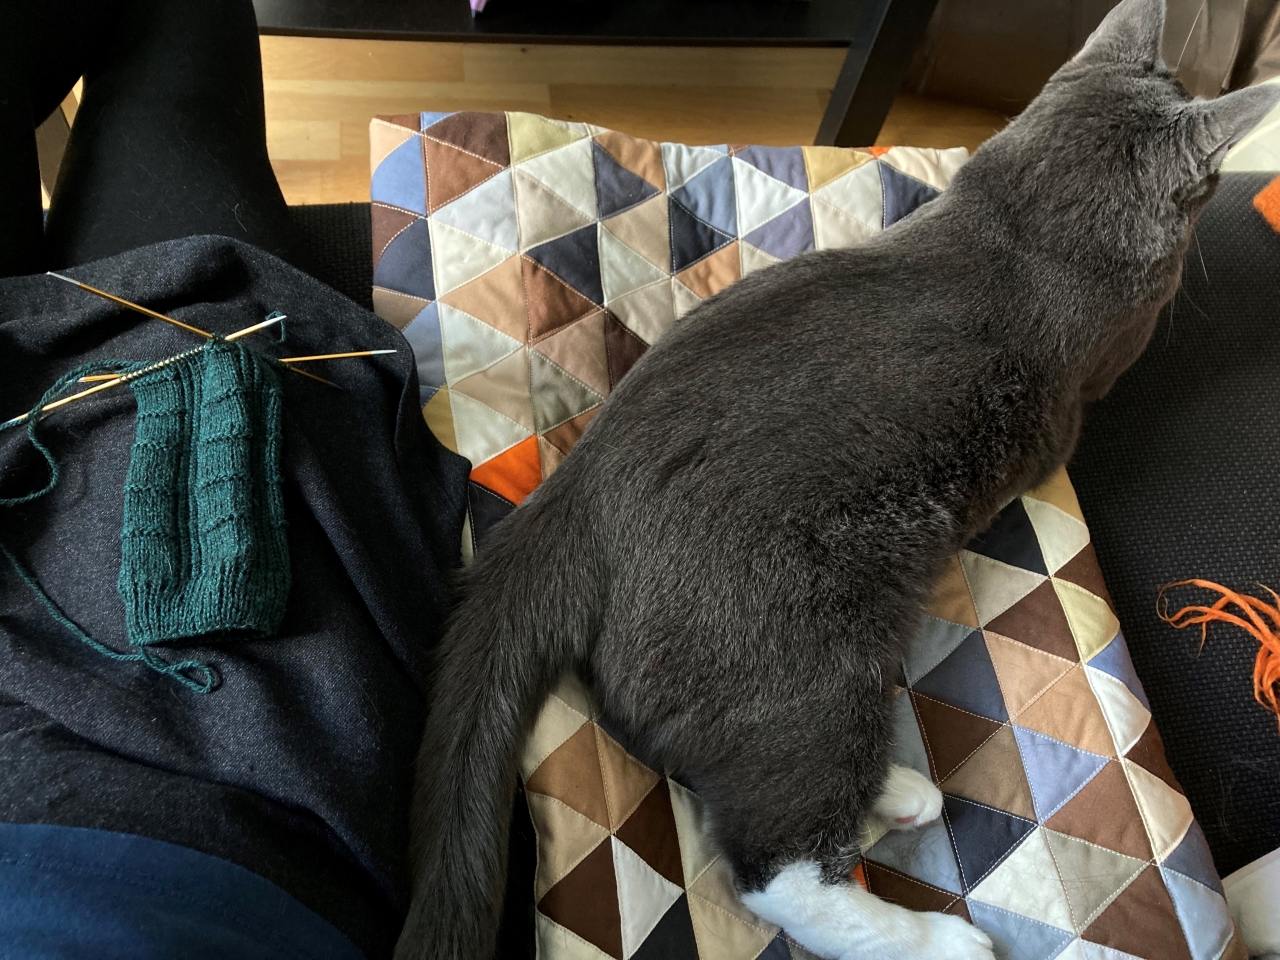
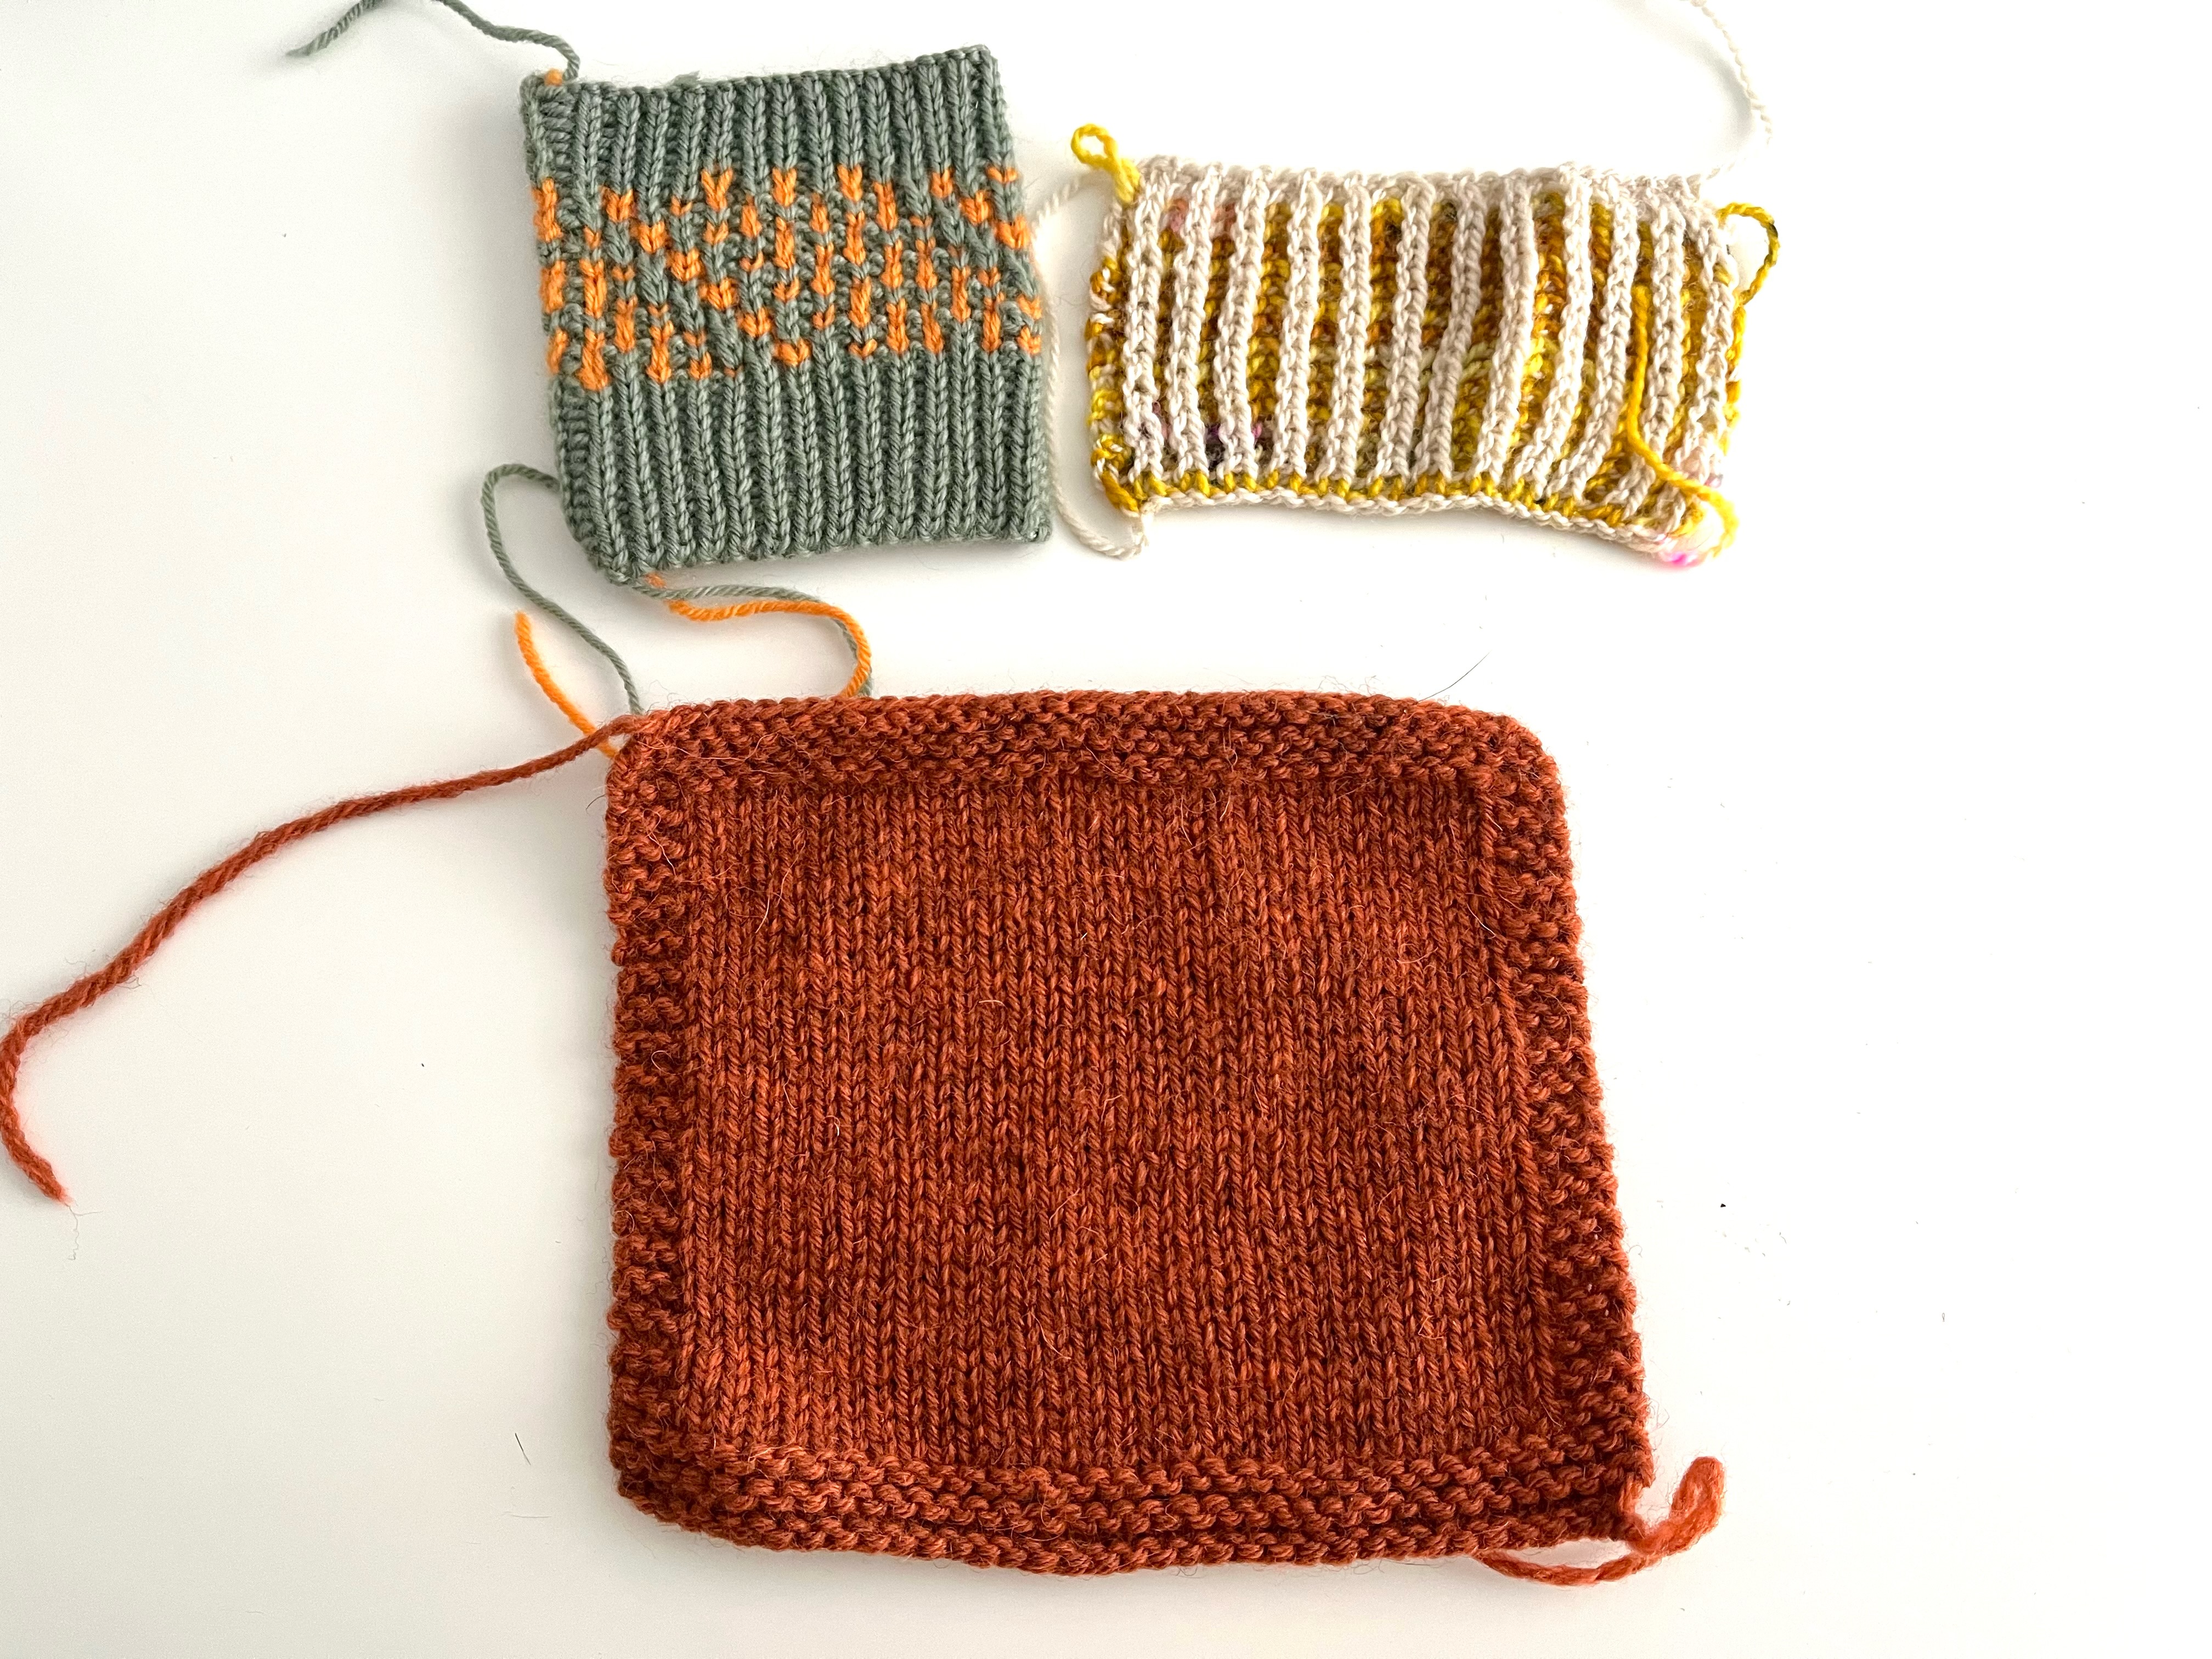
A few swatches I’ve knit throughout the years:

swatch

Gauge in 10cm/4in

If you are intending on knitting a pattern that provides a gauge, knit a swatch in pattern by casting on the gauge’s stitches and knit the gauge’s rows. Usually the pattern will tell you which stitch to use for the swatch.

99% of the time* the swatch will be a square of 10x10cm or 4x4in (*source missing). We usually also add 3 sts at the beginning and end of the row, to be knit in garter stitch; the same is done at the beginning and ending of the swatch where you knit 6 rows in garter stitch. This prevents the fabric from rolling on itself if you are knitting in stockinette stitch, thus making it easier to measure.

If your swatch matches the designer’s, perfect! 😌 You can start your project and it’s the most magical feeling.

If it doesn’t, you will want to check how different the final piece will be. That’s what the rest of this post is about.

Input the pattern’s gauge and your swatch dimensions:

Units

Pattern gauge (10x10cm)

Your swatch (width x length)

Little Peaks Quilt

It's done!

This blog post is the continuation of Solving a quilt puzzle: Part 2 and the final post in the series. When I wrote the last post (1.5 years ago 😬), I was still sewing the triangles to each other, in long stripes of triangles. I also planned on writing more blog posts describing the process, but that obviously didn’t happen. If you’re new here and don’t want to read the previous posts, the quilt design I used is free on Purl Soho’s website.

kitchentablemoved

It took me a lot longer to sew than I thought it would. After sewing +1000 triangles following the order that I had determined, I still had to:

  1. sew each strip to each other until the quilt top was complete;
  2. create a quilt sandwich with three layers: quilt top, quilt batting (I used wool) and a quilt backing (I used cotton in a solid color);
  3. pin the quilt sandwich in place and sew in the ditch, by following the patchwork seamlines;
  4. trim the quilt sandwich;
  5. create the binding (basically a long strip of fabric);
  6. machine sew one side of the binding to the quilt and hand sew the other side.

On step 3 I decided to do a marathon sewing weekend to finish the quilting part of the process. I took a few photos and that’s what I’m sharing on this post.

We live in a tiny apartment and my sewing machine is quite noisy, so I temporarily moved our kitchen table to the bedroom. This way I was able to sew for ten hours straight without feeling like I was being a nuisance to my husband and everyone on Discord. 😅

My cat Estela loves this quilt and every time she finds it she must lay on it. Even if I was in the middle of sewing it and just taking a 10 minute break.

estelathecat

I believe I was more than halfway done on Saturday morning, and by Sunday evening the quilting was done!

The next step was to trim the quilt sandwich and it was incredibly satisfying:

cuttingthebinding1 cuttingthebinding2 cuttingthebinding3

The binding was easy to craft and machine sew to the quilt. And the very last step might have been my favorite: hand sewing the binding to the quilt. The corners were a little stressful, but the sides were meditative and enjoyable. I plan on hand quilting another blanket in the future.

handsewing

As you can see on the photo, my quilt is far from perfect, but we use it every day. It’s beautiful and the wool batting makes it super warm. 10/10 would make it again, but on the next one I will be more mindful when cutting the fabric pieces.

anotherestelaonquilt

And now a side-by-side of the plan vs the final result. They don’t look the same for the reasons I explained in the previous post.

theplan thefinalresult

And that’s it! I’m sorry for the photo dump. I left Instagram recently and I guess in the future I will share more photos here.

My new pattern, Sentido, is available now available on Ravelry.

sentido

It is a simple 1x1 rib stitch beanie, with a colorwork section in mosaic knitting. It is written for both children and adults. Check out the test knitters’ versions on their Ravelry project pages no Ravelry. This pattern wouldn’t be possible without my wonderful testers.

copenhaga

On the Portuguese version of this blog post I explained why I have been absent from Youtube, but of course that doesn’t make sense on this page since I speak in Portuguese on my Youtube channel.

I haven’t been knitting as much as I used to, but I did a bit of sewing on my quilt.

manta

I’m officially midway through the 27 rows of triangles. After 6 rows, I’ve found a good rhythm and it’s progressing at a good pace. Leaving the sewing machine and the materials easily accessible has been key.

Spring is almost here and it makes everything just a little bit better.

argila

My newest pattern, Argila, is finally available on Ravelry!

This is my first adult sweater and it took me so long to publish that I could have had a baby by now, that’s how long it’s been. I re-knit the sweater several times before I was happy with the result, and the writing process was also more complicated than I expected.

The pattern is written for 12 sizes and there’s a lot more to consider when grading for this many sizes than I expected. In addition, since I like writing a portuguese version for portuguese knitting and an english version for continental knitting, it takes almost double the time. For the brick stitch in particular it makes sense to have both versions; in portuguese knitting you purl 3 out of 4 rows and in continental knitting you knit 3 out of 4 rows.

All in all, I think it was worth it! I love to see my testers wearing their sweaters. ❤️ Speaking of which, check out their projects on the project tab of the pattern on Ravelry. This pattern wouldn’t be possible without them.

You can find out more about the sweater here.

Arquivo

Search

About

Here you can read about my designs, as well as tips and modifications to my patterns. If you speak Portuguese you can also find me on Youtube as Meyas Podcast. And of course I am on Ravelry! Click on the Ravelry icon above or search for apionese.

meyasdesigns